Maybe 2015 is the year of the “finished” unfinished basement?
7January 10, 2015 by Decorum DIYer
Hello, everyone! I’ve been quite absent from this blog, as life has been hectic. No time for blogging nor furniture and home decor projects in general, let alone the endless mounds of laundry, dishes, and life at home with three very active children. The best I can do is share my mini DIY and home decor triumphs via Facebook.
Every year since we purchased this home in 2007, my husband and I strive to finish our basement and every year our hopes are dashed as we just don’t have the budget, nor time to make it happen. In 2012 we thought our prayers would have been answered if maybe, just maybe, we won a contest sponsored by Houselogic. To our dismay we weren’t chosen. However, it did get us really thinking about how we want to use the basement space and what we need to make it happen in a DIY capacity. We’ve shared our ups and downs regarding the basement here and here. Maybe this year will be the year?
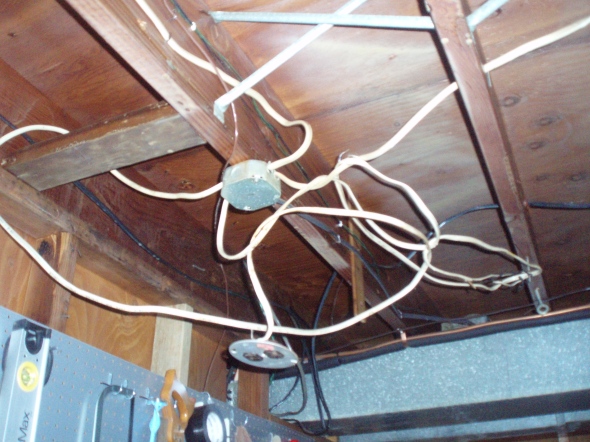
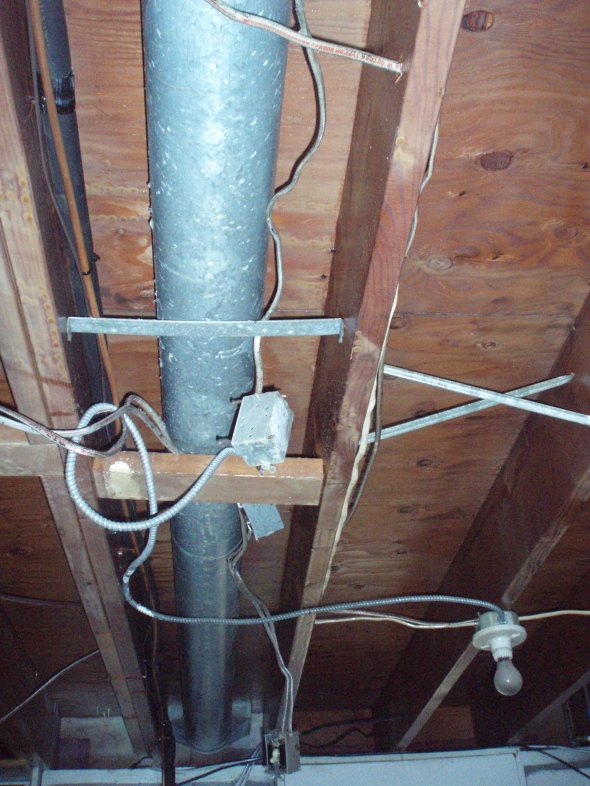
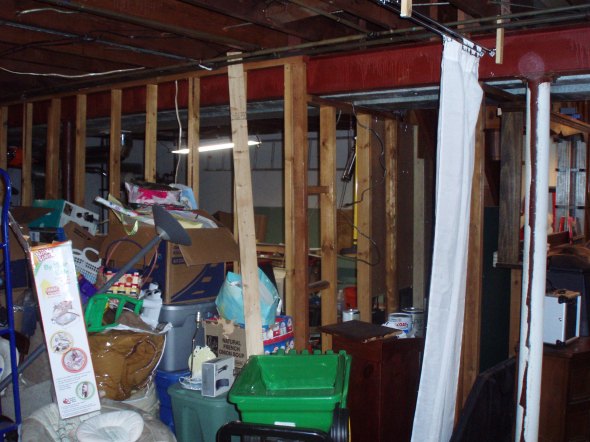
Here are the many stages of the basement in a little photo tour down memory lane:
Oh, the wires!!!!! So many hanging LIVE wires!
The clutter! Most of this clutter is overflow from the first floor, due to our scarce storage opportunities. We have few closets, no pantry, no linen closet, no garage, etc…. Of course, life with three kids and a wife (eh, hem, that would be me), whom loves to collect one day furniture projects, adds to the mess as well.
Over the past seven years, mainly within the last three years, we have purged items here and there. I’ve sold some things on Craigslist or traded items out with the main living area upstairs as my children have grown. For example, we stored cribs, toddler beds, and my husband’s childhood twin-sized bed in the basement until we needed it for each child. Same for my daughter’s bedroom set that replaced her toddler room furniture. So, many things have been purged.
My husband has also placed our laundry in the basement to make way for our daughter’s toddler room and made me some storage shelves for all of my junk treasures.
The biggest change to me was that my husband has spent countless evenings and late night hours on the weekends to tidy up all of those hanging wires. It really does make a difference and ease my mind.
So, we’ve been living with this for at least a year:
With the spare moments during Thanksgiving and Winter breaks, my husband and I were able to start the process of our DIY finished, unfinished basement. By this, I mean that we plan to finish the space enough to make it comfortable and usable, without adding drywall. We just don’t have the budget. Using my Craigslist sleuthing skills and my backlog of DIY basement renovation research, we scored some DriCore subfloor panels for one-third the retail cost. We still need to purchase additional tiles complete the living area (about 800 square feet total), but it is a huge savings when one considers that each 2’x2′ tile is about $6.00. So, this is what our floor looks like today.
Slow, but steady, progress. My husband is actually picking up more Dri-Core this evening on his way home from work. We will be finishing this giant floor puzzle tonight (assuming the kids go to bed timely).
You may also notice (especially if you follow my facebook page) that we have painted our cinder block walls. Although they were professionally waterproofed in 2007 and our basement is virtually dry, we decided that two coats of Behr’s Basement and Waterproofing paint in Silver Jade would be a good maintenance measure, as well as give our basement a more comfortable, living area feel.
***NOTE* You may be wondering why I didn’t just choose any paint color (there are infinite amounts) in an ordinary latex paint. The reason is that my research has lead me to believe that painting a cinder block foundation with anything other than a bona fide waterproofing paint will preclude one from making foundation repairs and sealing with waterproofer in future. Meaning, that you cannot paint waterproofer over latex paint – it will lose any waterproofing qualities. Also, I researched DryLock’s color palette for water proofing paint, and aside from white, gray, and beige, the other colors were very pastel; almost nursery-like. Behr’s ready-to-tint colors, as offered in their brochure at Home Depot, were more grayed and appealing to me. It is my understanding that one can tint Behr’s waterproofing paint into any of the colors offered by the full Behr paint line (with exception of darker colors – as the base paint would need to be different), but I thought it might compromise the point of the waterproofing paint. So, I played it safe with my choice.***

During: I’ll admit it was a bit scary. I was really starting to worry that I picked the wrong color. But, as usual, I went with my instincts and forged ahead.
A few more basement wall pictures for good measure and to make up for lost time blogging.

Again, the BEFORE: You can see a drastic difference in the far wall and the side wall. Also, please note that my husband mounted the outlets and light switches onto 2″x4″s suspended from the ceiling rafters, since we do not have walls. Of course, we don’t want to drill into the masonry foundation.

AFTER: All three walls of our living space painted in Silver Jade. I can’t tell you how much better the space feels already.

After we install the DriCore subfloor system and add a foam underlayment, we will be installing wood laminate planks in a soft gray finish.
After we install the DriCore subfloor system and add a foam underlayment, we will be installing wood laminate planks in a soft gray finish. I’m not trying to jump on the gray and light blue trend (that has passed by now), but it just feels right. I’m looking for something coastal and soothing in our basement. I want it to feel like an upper level living space. I really am channeling Candice Olsen here…, wish me luck.
Stay tuned! I am hoping that by blogging again, it will keep me accountable and motivated.


I’m really happy about this. I know how long you have waited and how patient you’ve been. I sure hope this is the year! Great progress so far! xo
Good to have you blogging again. It looks like you guys have your work cut out for you, but a do-able plan in place. I like the color you chose and agree that a coastal feel will be welcoming and make it not feel like a basement space. I can totally relate on storage issues – it is such a challenge with a growing family. Our basement is finished out, but occupied by my parents, so we literally have no overflow space other than my tiny workshop. And therefore, we are forced to live lean. I guess that’s a good thing in some ways:). Looking forward to following your progress on this big project!!
Great job! Glad to see your still diy-ing!!!!!
>
What a great space! When it’s finished you’ll feel such a sense of accomplishment. (My laundry room is in its tenth year of upgrade.) It’s a big job but I’m sure you and your husband are up to it. Look forward to the progress. (Notice I didn’t same “completion”.) Jo @ Let’s Face the Music
[…] our progress with painting the basement walls with Behr’s Basement and Waterproofing paint in Silver Jade, I mentioned that we had plans to install a faux wood floor. Luckily for my husband and me, I […]
[…] this renovation a little out of order (i.e. flooring before walls and ceiling), we do have a general plan. However, there are a few points of contention regarding the following […]
[…] the only change in the basement is newly painted masonry walls (Behr’s Basement and Masonry Waterproofing Paint in Silver Jade), flooring from Lumber Liquidators (Black Forest Oak, 6mm), and subfloor from Dricore. […]